
If your organization is using Microsoft Teams and Onedrive as your primary business file storage, then you likely use Windows Explorer to access your drives as shown in the screenshot below.

But if you recently got a new computer, or you are just setting up Teams for the first time on an existing device, you may wonder how those drives got there in the first place. In this tutorial, we’ll show you how to sync any folder from your Teams to your Windows computer using Onedrive so they show up in Windows Explorer like the screenshot above.
- Open the Teams app and click on the “Teams” section in the left-hand menu to display your drives.
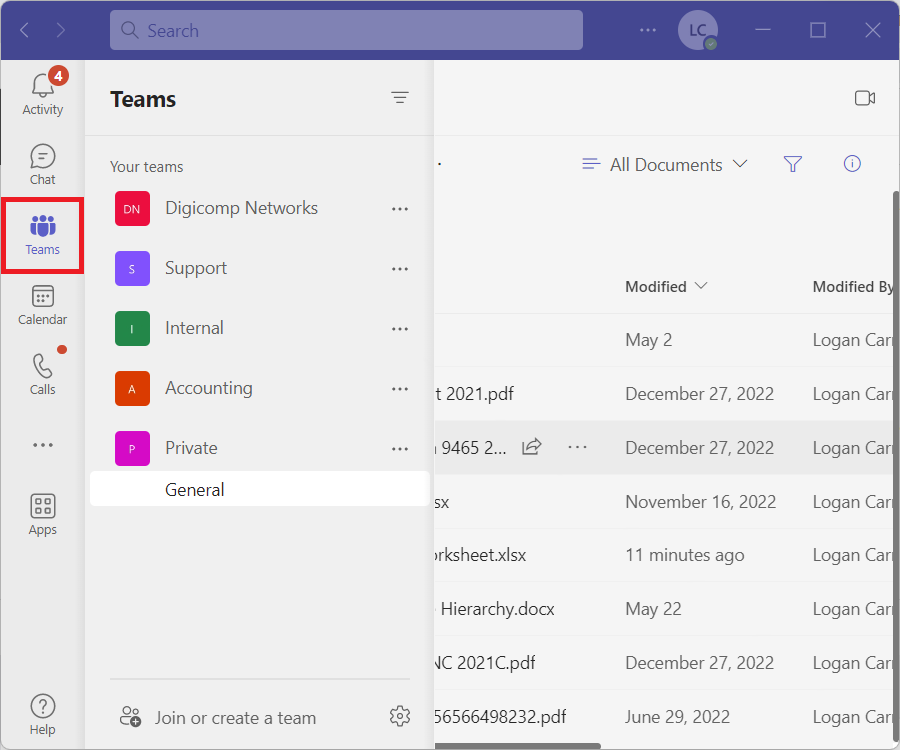
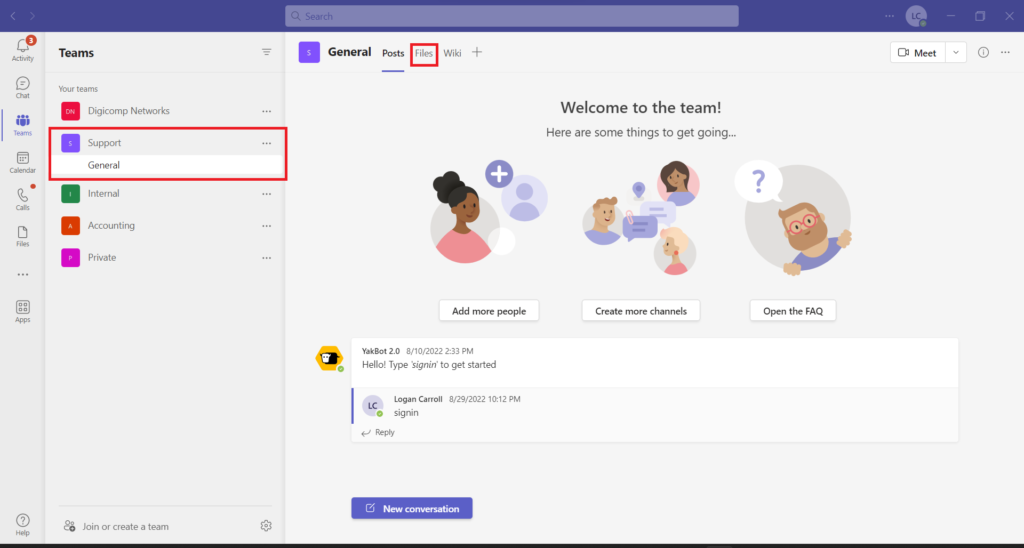
2. Choose a team under “Your Teams” and click the “Files” button at the top.
3. Teams will default to the “General” section but you can move forward or backward to any folder you want to sync. In the screenshot below, we navigated backwards to the “Documents” folder.
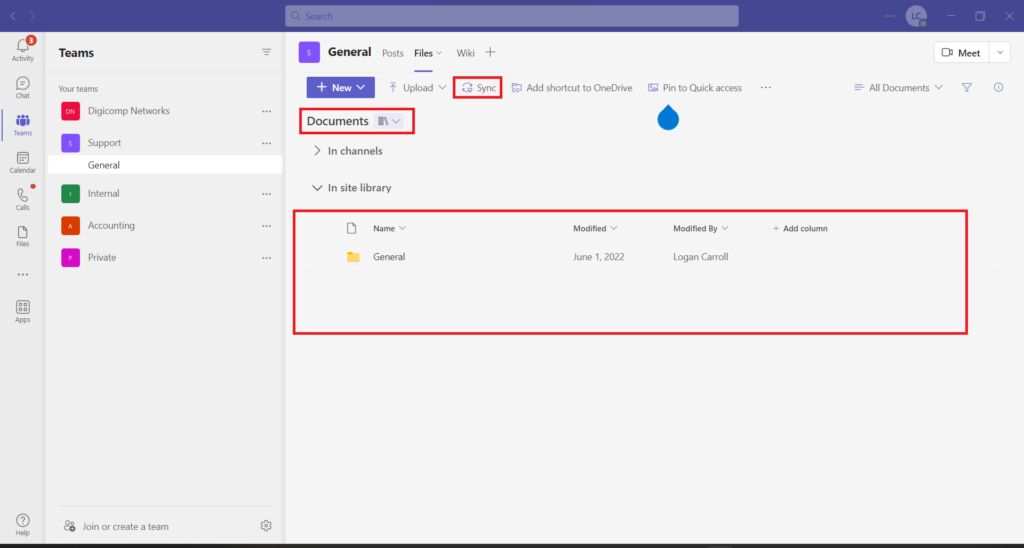
4. Once you are inside the desired folder, click the sync button at the top to sync the folder to your computer.
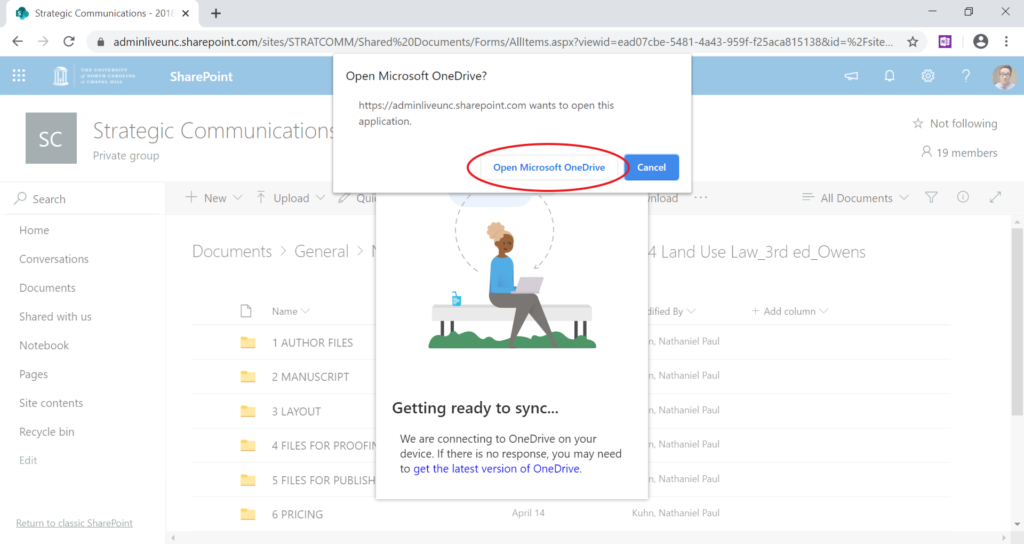
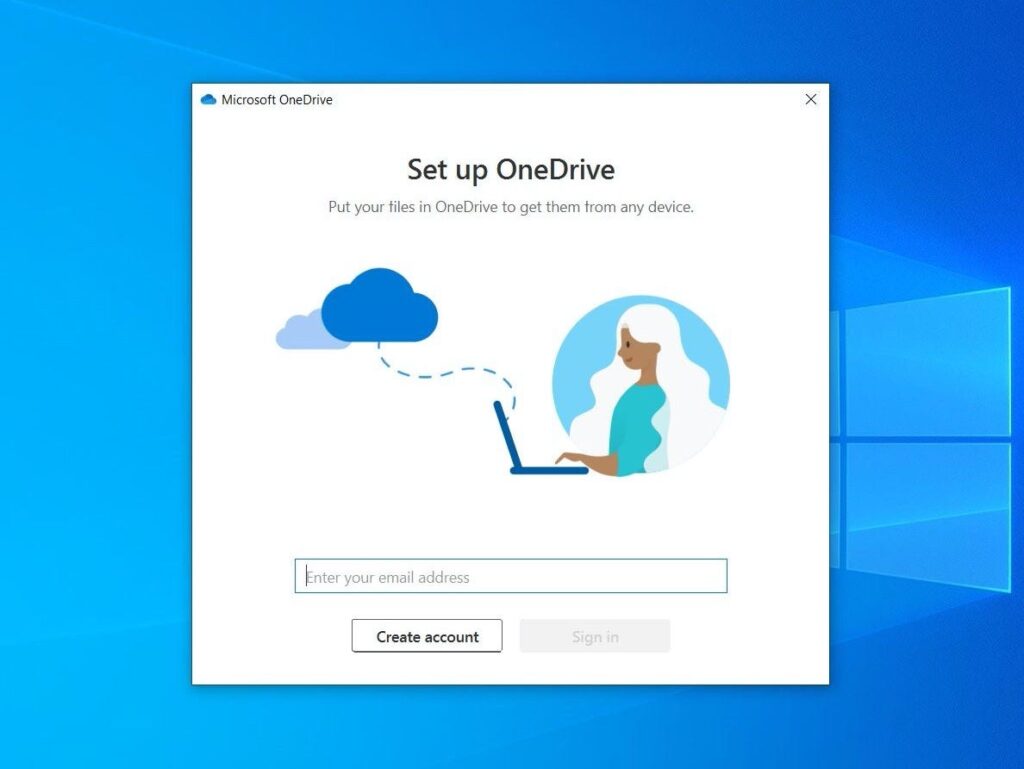
5. If you’re not logged into Onedrive, after you click the Sync button it will prompt you to login. Type in your e-mail address in the Onedrive login box that pops up.
6. Once you finish the setup for Onedrive, it will open your Onedrive folder, where you’ll see the folder you chose to sync. In Windows Explorer, on the left-hand side you’ll see the name of your organization, where you’ll be able to expand all of your synced folders.